[Tutorial] : Automated Quality Inspection System Using AI & FAVORIOT
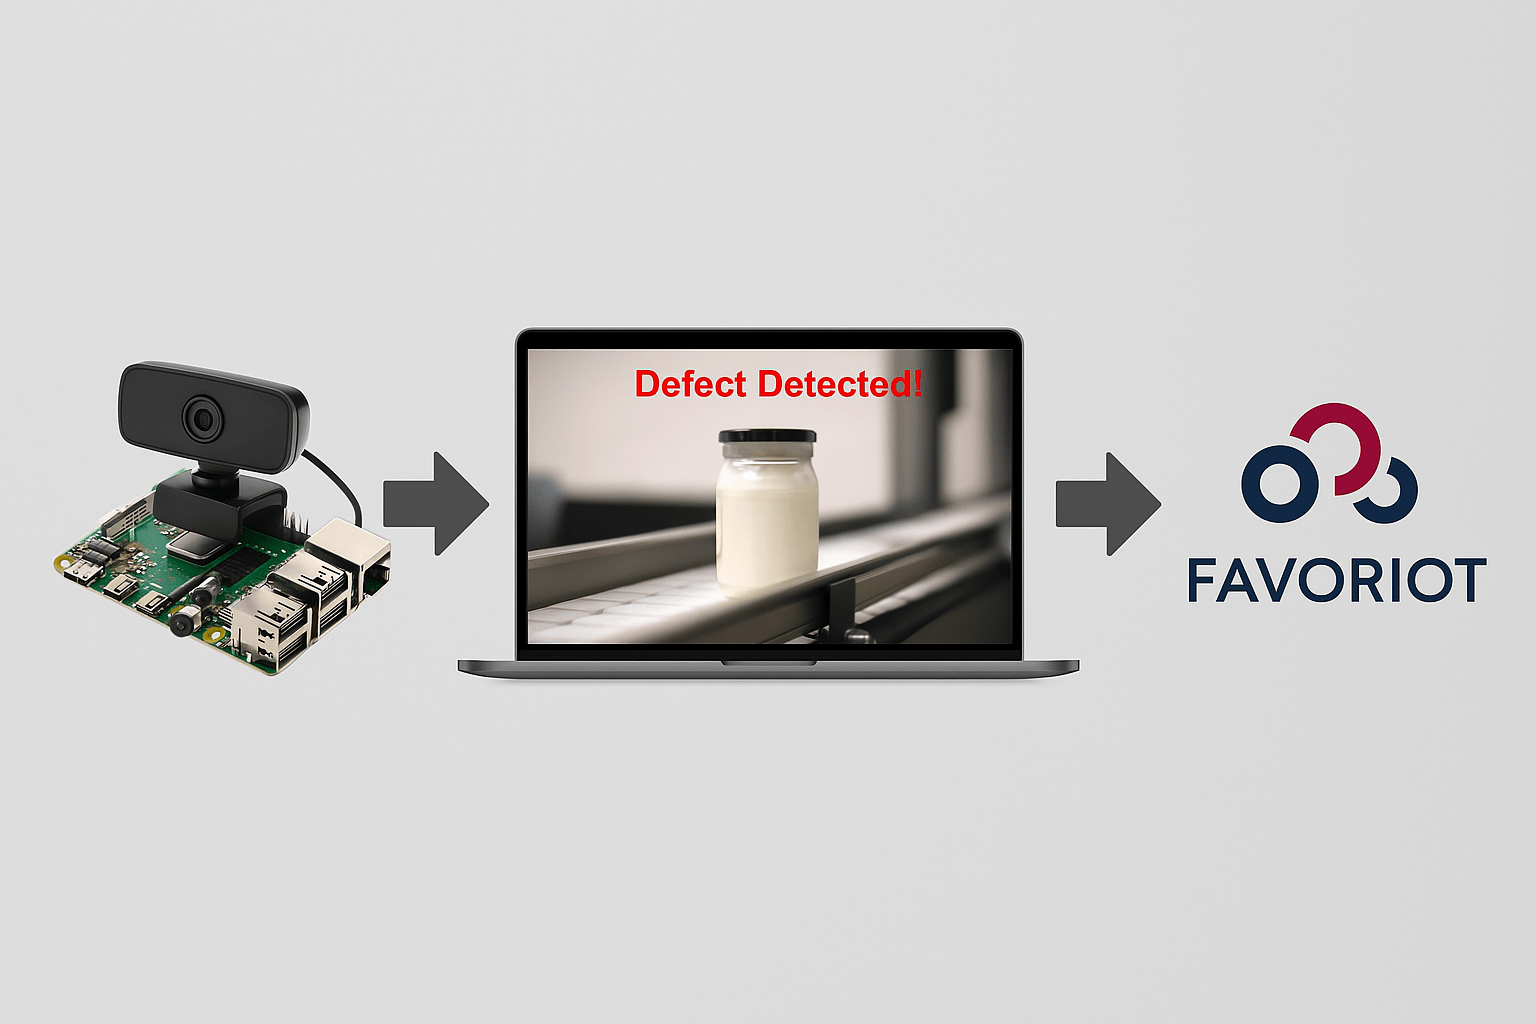
April 6th, 2025 Posted by favoriotadmin BLOG, HOW-TO, Internet of Things, IOT PLATFORM, TIPS 0 thoughts on “[Tutorial] : Automated Quality Inspection System Using AI & FAVORIOT”This guide will show you how to build an AI-powered quality inspection system using a camera and send inspection results to the FAVORIOT IoT platform in real time.
🔧 Step 1: What You Need
Hardware:
- Raspberry Pi (or any computer with a camera)
- Camera (USB or Pi Camera)
- Internet connection
Software:
- Python 3
- Libraries:
opencv-python,tensorflow,numpy,requests
🛠️ Step 2: Install the Required Software
Open Terminal and run:
sudo apt update && sudo apt upgrade -y
sudo apt install python3-pip -y
pip3 install opencv-python numpy requests tensorflow
🧠 Step 3: Train an AI Model to Detect Defects
Create a folder called dataset_defects with 2 subfolders: defect and normal.
Now, use this Python code to train the model:
import tensorflow as tf
from tensorflow.keras.preprocessing.image import ImageDataGenerator

dataset_path = "dataset_defects"
batch_size = 32
img_size = (224, 224)

datagen = ImageDataGenerator(rescale=1./255, validation_split=0.2)

train_data = datagen.flow_from_directory(
    dataset_path,
    target_size=img_size,
    batch_size=batch_size,
    class_mode="binary",
    subset="training"
)

val_data = datagen.flow_from_directory(
    dataset_path,
    target_size=img_size,
    batch_size=batch_size,
    class_mode="binary",
    subset="validation"
)

base_model = tf.keras.applications.MobileNetV2(input_shape=(224, 224, 3), include_top=False, weights="imagenet")
base_model.trainable = False

model = tf.keras.Sequential([
    base_model,
    tf.keras.layers.GlobalAveragePooling2D(),
    tf.keras.layers.Dense(1, activation="sigmoid")
])

model.compile(optimizer="adam", loss="binary_crossentropy", metrics=["accuracy"])
model.fit(train_data, validation_data=val_data, epochs=10)

model.save("defect_detection_model.h5")
🎥 Step 4: Real-Time Defect Detection Using Camera
Once the model is trained and saved, run this script:
import cv2
import numpy as np
import tensorflow as tf

model = tf.keras.models.load_model("defect_detection_model.h5")
cap = cv2.VideoCapture(0)

while True:
    ret, frame = cap.read()
    if not ret:
        break

    img = cv2.resize(frame, (224, 224))
    img = np.expand_dims(img, axis=0) / 255.0
    prediction = model.predict(img)[0][0]

    label = "Defect Detected!" if prediction > 0.5 else "Product OK"
    color = (0, 0, 255) if prediction > 0.5 else (0, 255, 0)

    cv2.putText(frame, label, (50, 50), cv2.FONT_HERSHEY_SIMPLEX, 1, color, 2)
    cv2.imshow("Quality Inspection", frame)

    if cv2.waitKey(1) & 0xFF == ord('q'):
        break

cap.release()
cv2.destroyAllWindows()
🌐 Step 5: Send Defect Results to FAVORIOT
✅ 1. Set Up a Device in FAVORIOT
- Log in to Favoriot Platform
- Go to Devices → Add Device
- Note down your Device Developer ID and API Key
✅ 2. Add Code to Send Data
Below is the function to send results:
import requests
import json

DEVICE_ID = "YOUR_DEVICE_ID"
API_KEY = "YOUR_FAVORIOT_API_KEY"
URL = "https://apiv2.favoriot.com/v2/streams"

def send_data_to_favoriot(status):
    payload = {
        "device_developer_id": DEVICE_ID,
        "data": {
            "status": status
        }
    }

    headers = {
        "Content-Type": "application/json",
        "Apikey": API_KEY
    }

    response = requests.post(URL, data=json.dumps(payload), headers=headers)
    print("Response from Favoriot:", response.json())
✅ 3. Combine with Real-Time Detection
Add this snippet inside your prediction logic:
if prediction > 0.5:
    send_data_to_favoriot("Defect Detected!")
else:
    send_data_to_favoriot("Product OK")
📊 Step 6: View Data on FAVORIOT Dashboard
- Go to your device on the FAVORIOT Dashboard
- Click on Streams to view defect data
- You can also create graphs or alert rules for monitoring
🚀 Bonus Tips
- Add Telegram Alerts using Telegram Bot API
- Add Dashboard Charts using Favoriot’s visualization
- Improve accuracy with better dataset or model tuning
✅ Summary
With this project, you have:
✅ Built a real-time defect detection system
✅ Displayed results on screen
✅ Sent reports to FAVORIOT cloud platform
References
- Favoriot Platform Registration (FREE and Paid)
- Favoriot Full Documentation (Official)
- Favoriot Github
- How-To Use Favoriot Platform Video Playlist
Disclaimer
This article provides a step-by-step guide and only serves as a guideline. The source code may need adjustments to fit the final project design.