[TUTORIALS] – IoT Projects Using FAVORIOT
March 27th, 2026 Posted by favoriotadmin BLOG, HOW-TO, Internet of Things, IOT PLATFORM, NEWS, PARTNER, PRODUCT, TIPS, Training 0 thoughts on “[TUTORIALS] – IoT Projects Using FAVORIOT”Projects from FAVORIOT Community
- From Student Project to Smart City Solution: How This IoT Environmental System Is Turning Real-Time Data into Action
- Inside a Smart Environment Monitoring System: A Student’s ESP32 IoT Project That Combines 5 Sensors and Cloud Analytics
- A Student Innovation in Smart Kitchen Safety Using IoT
- Edge AI Meets Cloud Intelligence: Evaluating Favoriot for Lightweight Telemetry and Rapid Visualisation
- From Embedded Logic to Intelligent Infrastructure: A Smart Parking IoT Journey
- From Embedded Project to Scalable IoT Architecture: A First-Year Student’s Growth Story
- Learning IoT by Doing: Ts. Dyg Khayrunsalihaty Bariyyah Abang Othman’s Troubleshooting Journey
- From Classroom to Gold Medal: A Student’s Real-World IoT Journey with Favoriot at ITEX
- Hands-On IoT Exploration: Lessons from Adekunle Joshua
- We Are Looking for Builders, Not Just Users – Why Naveen’s Story Can Become an Inspiration
- Check for new and latest Projects from the Community HERE.
IoT R&D Project Challenges Using Favoriot Insight Framework
- Daily Project Challenges listed HERE.
Project Proposals
- [Tutorial]: Real-Time Tire Pressure and Temperature Monitoring Using FAVORIOT
- [Tutorial]: Predictive Vehicle Maintenance Using Sensors and FAVORIOT
- [Tutorial]: IoT-Based Smart Vehicle Monitoring System using FAVORIOT
- [Tutorial]: Smart Temperature Monitoring in Cold Transportation Using Favoriot
- [Tutorial]: Smart Water Quality Monitoring for Cities using Favoriot IoT Platform.
- [Tutorial]: Smart Street Lighting System Utilizing IoT and FAVORIOT
- [Tutorial]: Automatic Sorting Trash Bin with Favoriot IoT Platform
- [Tutorial]: Smart Agriculture Robot using the Favoriot platform
- [Tutorial]: Automated Parking System with IoT using Favoriot
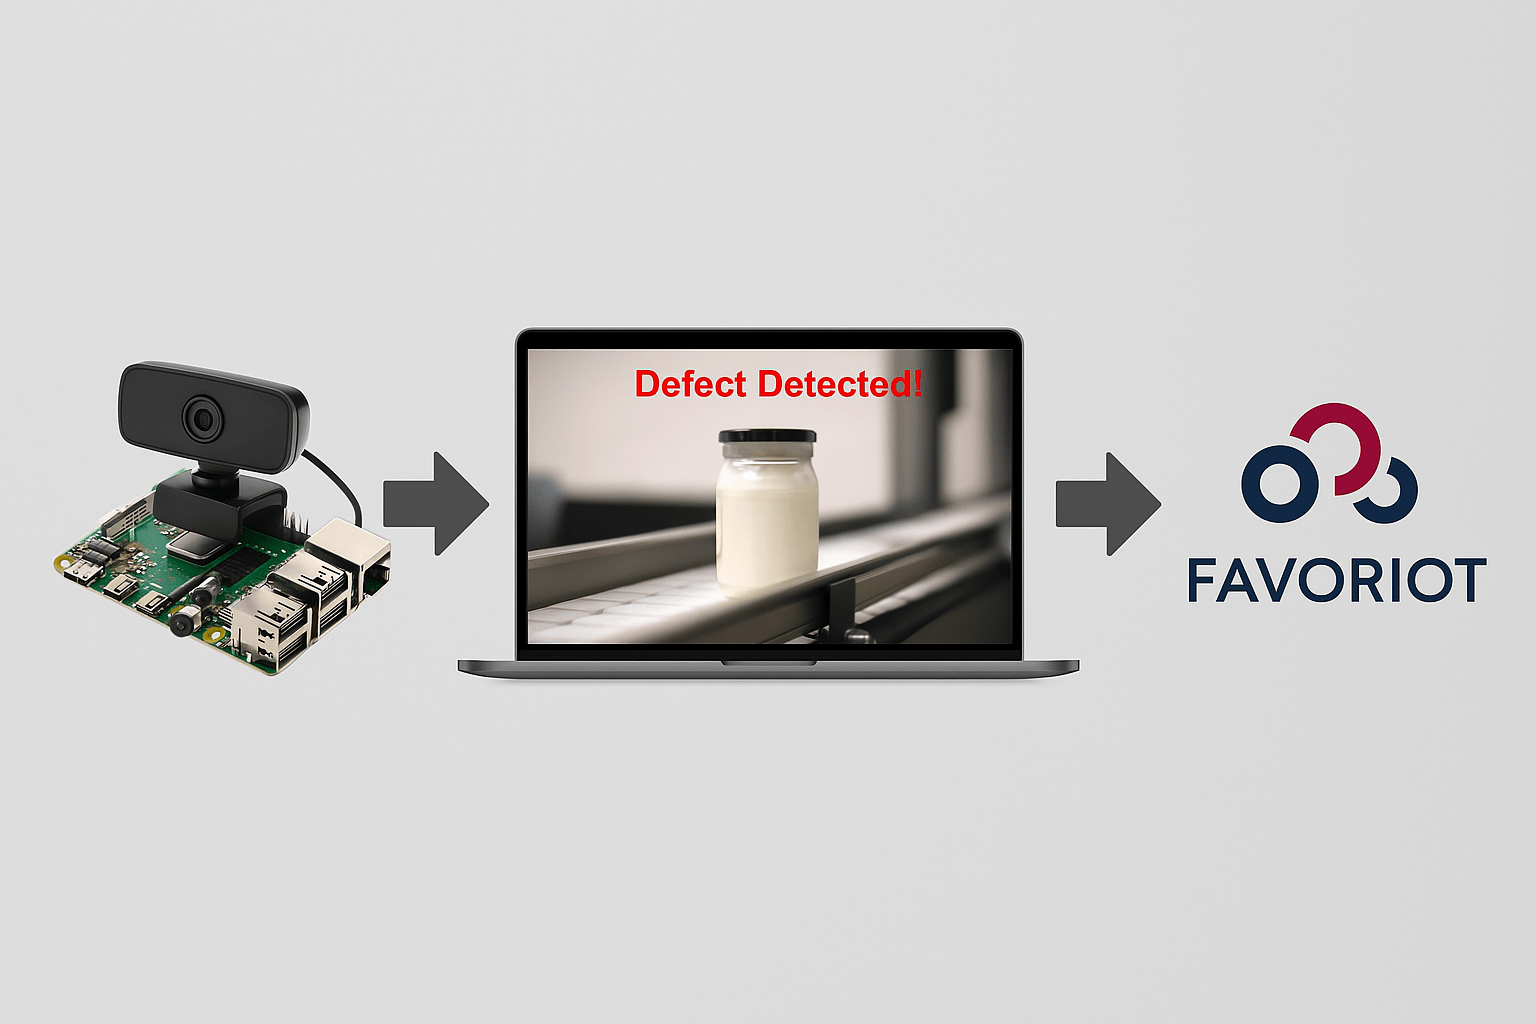
- [Tutorial]: Automatic Bottle Filling & Capping System Using FAVORIOT Platform
- [Tutorial]: Smart Conveyor System with Automatic Object Sorting using Favoriot IoT Platform
- [Tutorial]: FAVORIOT Project: Smart Cooling System for Manufacturing Machines Using Favoriot
- [Tutorial]: Robotic Arm for Automated Material Handling using Favoriot IoT Platform and Telegram Integration
- [Tutorial]: Building a Smart Inventory System with Telegram Alerts Using Favoriot
- [How-To] Send Data to the FAVORIOT Platform Using REST, MQTT and CoAP
- [Tutorial]: CNC Machine Automation dengan IoT Monitoring Using FAVORIOT
- [Tutorial]: Automated Quality Inspection System Using AI & Favoriot
- [Tutorial]: Smart Conveyor System with IoT Monitoring
- Check for the latest Tutorials HERE.
FAVORIOT Resources
- General
- Pricing
- How to Choose the Right Favoriot Plan for Your IoT Project
- Favoriot Ecosystem Plan
- Why Universities Need an IoT Ecosystem, Not Fragmented IoT Accounts
- When IoT Builders Outgrow Dashboards: Why the Favoriot Platform Developer Plan Exists
- Favoriot Launches Lite Plan to Support Students, Beginners, and Early IoT Builders
- Faybee AI – IoT Copilot
- Favoriot Intelligence
- Favoriot Insight Framework
- What is Favoriot Insight Framework (FIF)?
- Favoriot Machine Learning
- Why Favoriot’s ML Infrastructure Reduces Costs
- Why Favoriot’s Built-in Machine Learning Matters for AI Researchers and IoT Developers
- Favoriot’s Rule Engine 2.0: A Structured Approach to IoT Automation
- The Key Differences: Favoriot’s Rule Engine 2.0 and AI Agents
- IoT & AIoT Labs
- Trainings
- Favoriot Partner Network
- Videos (Playlist & Highlights)
- How-To Use Favoriot Platform Playlist
- Favoriot IoT World Playlist
- IoT Deep Dive Playlist
- Favoriot Sembang Santai Playlist
- IoT Deep Dive – Episode 7 (FAVORIOT Insight Framework)
- IoT Deep Dive – Episode 4 (Favoriot Partner Network Solves IoT Fragmentation)
- IoT Deep Dive – Episode 5 (Building IoT Solutions With Favoriot Middleware)
- Favoriot IoT World – Episode 3 (Unboxing the AIoT Lab)
- Favoriot IoT World – Episode 6 (Favoriot AIoT Architecture – Data to Decision)
- Favoriot IoT World – Episode 4 (Favoriot’s IoT Pricing)
- FULL FAVORIOT RESOURCES
- Others
Disclaimer
This article provides a step-by-step guide. The source code may need adjustments to fit the final project design.